-
How does a Portable CMM work?
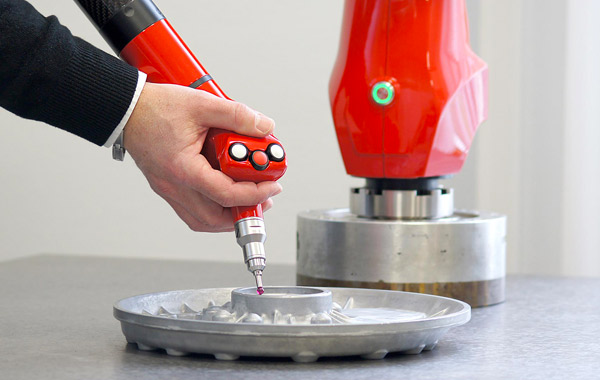
Portable CMM is a device for collecting measurements off the surface geometry of an object. When we’re talking about portable CMMs usually what comes to mind is the type that uses a measuring arm, also called an articulating arm.
Each time you touch the surface of an object with the probe it collects one measurement point, or a 3D coordinate (XYZ). It’s considered a contact measurement system because the device needs to touch the scan target in order to obtain a measurement.
-
Why do I need one?
Quality Inspection
Portable CMM is a trusted measurement tool to help reduce product defects in the manufacturing process in order to maintain strict quality standards.
Hand tools such as calipers and micrometers are restricted to taking simple measurements for basic parts such as distance from point A to B. Portable CMMs, on the other hand, are a flexible measurement tool that provides more information than these types of tools. They make the quality control process much more efficient while obtaining better accuracy.
Portable CMMs enable computer-aided inspection of manufactured parts by taking certain measurements and comparing it to a golden standard, the CAD model, to determine if the part meets quality standards.
Product Development
Portable CMMs are used in reverse engineering applications to help speed up the product development process. Instead of designing from a blank slate, 3D scanning captures the design intent of complex geometry that is hard to measure in any other way. This information is then used as a basis for design.
Reverse engineering using a portable CMM is great for:
- Building components that integrate perfectly with existing products
- Repairing worn or broken parts
- Creating models from parts with non-existing CAD
- Using existing scan data to improve the design of an existing product
Here is a video demonstration on how to reverse engineer a throttle body with a portable CMM using Point2CAD reverse engineering add-in for SOLIDWORKS:
Landmark Studies
Portable CMMs are a flexible solution that is proven valuable in academic research. Their ability to collect 3D measurements easily provide an efficient method for data collection and statistical analysis.
Claire Terhune, an assistant professor at the University of Arkansas, has been using the MicroScribe portable CMM for more than 10 years, particularly for landmark studies using 3D geometric morphometric techniques. Geometric morphometrics is a comparative study of complex biological structures by referencing a set of common anatomical landmark points (digital 3D coordinates) across different specimens.
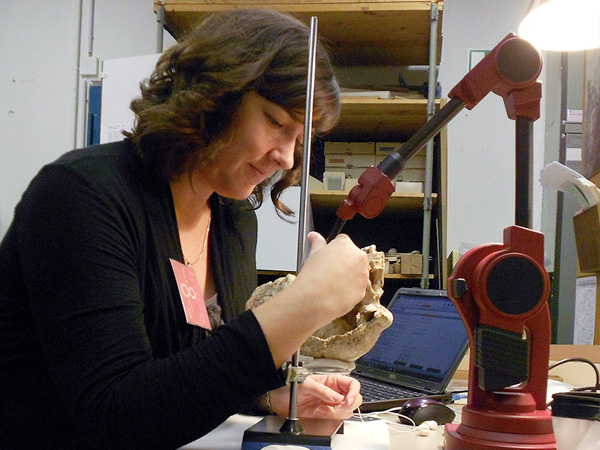
“The MicroScribe 3D digitizer is a portable solution I can easily take with me on my travels. I can quickly set it up at the museum I’m visiting and capture the X,Y, Z landmarks (3D geometric morphometric data) I need just by touching the skull with the articulating arm,” says Terhune.
With the data collected, she compares these coordinates across different specimens to see how they relate to or differ from one another.
You can learn more about how she uses the equipment for her research in the case study Advancing Anthropological Research with 3D Scanning
-
What are the advantages of using portable CMM compared to traditional CMM?
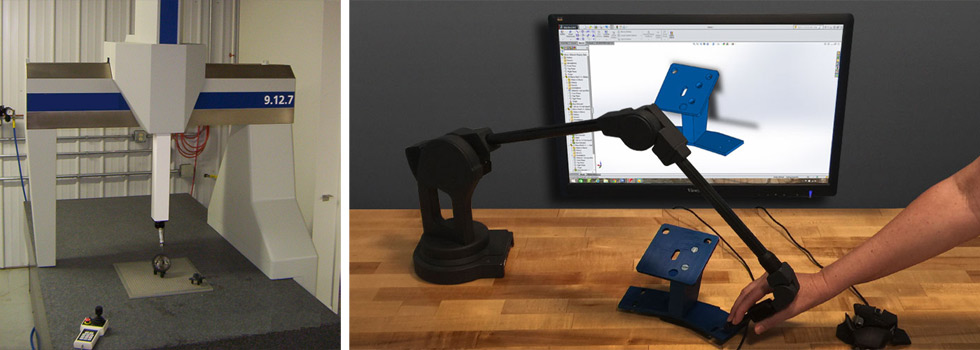
Traditional1 (fixed) CMMs versus portable CMMs Traditional coordinate measurement machines (CMMs) are known to be highly accurate, but they are big, fixed, and need to be used in a controlled environment. They are programmable to take certain measurements repeatedly. Prices can range from about $30,000 to $1 million2 which can be an expensive investment.
While traditional CMMs are very accurate for taking measurements, they aren’t as flexible when you want a portable, less expensive solution.
Portable CMMs do just that.
Compared to traditional CMMs, they are:
- Less expensive: You can get one for about $10,000.
- Portable: You can bring a portable CMM to the production line or shop floor due to its light weight (not restricted to a controlled environment).
- Flexible: Ability to take 3D measurements from different types of parts. Traditional CMMs are also strictly used for quality inspection, whereas portable CMMs can be used for other applications including reverse engineering, rapid prototyping, and scientific studies.
- Easier to operate: Operator has more control of the machine but requires manual operation.
-
What are the differences between a portable CMMs and 3D scanners (such as laser or structured-light)?
Although they both do the same thing (digitize objects), they are useful in their own ways. If you need to capture a few quick measurements, a portable CMM is good because it does the job fast. Simply by touching the object, you can get the measurement points you need. Whereas, a 3D scanner takes a snapshot of the object, which captures more data points (one scan contains over a million 3D measurement points taken in about one second). If you need just a few measurements, a 3D scanner can be an overkill and more time-consuming to do it that way and it would be best to use a portable CMM instead.
3D scanners are a non-contact measurement tool, whereas a portable CMM requires a touch probe that gets in contact with the object in order to take a measurement. Sometimes, when the object cannot be touched because it’s fragile, it’s best to use a 3D scanner.
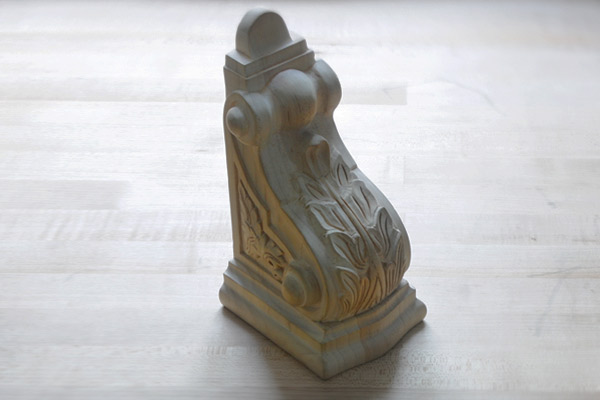
3D scanners are great for capturing 3D measurements of complex, organic shape (left) while a portable CMM is fast at capturing 3D measurements of objects with prismatic shape with straight edges or lines (right). Each device has its own strengths for scanning certain types of objects. It’s best to know the objects’ features you are planning to scan to determine which device would work best for your application. Portable CMMs are effective for scanning objects that have hard edges such as sheet metals, as well as dark, shiny, or reflective parts without part preparation as well as holes and undercuts. However, using contact measurement devices to measure parts with complex organic shapes can be a challenge. 3D scanners are great at measuring extremely complex surfaces and organic shapes in addition to mechanical parts.
To learn more about the differences of using a portable CMM versus a 3D scanner for reverse engineering applications, please read the article, Examining the Reverse Engineering Workflow from 3D Scan to CAD.
-
What do I need to consider when buying a portable CMM?
There are various brands and models of portable CMMs out in the market with different specifications. You should ask yourself three main questions during your evaluation process to see which one is right for you.
-
How accurately do you need to measure your part?
Get a system where you are comfortable with the accuracy you are looking for. Knowing your accuracy requirement is important because you don’t want to overspend on getting higher accuracy than you need. Portable CMMs with high accuracy tend to cost more.
-
What are you measuring?
Portable CMMs are classified by its working volume, from 2 feet to 18 feet. Be sure to select a portable CMM that will be able to scan the size of your part.
Understanding the complexity of the part and whether the device is able to scan your object ensures your equipment investment pays off post-purchase. If you have any questions or would like to get a sample scan done, ask your solutions provider and they would be able to help you figure it out.
-
What are you trying to achieve?
Are you using it for inspection or reverse engineering applications? Portable CMMs come with host software that controls the scanner to acquire 3D scan data. Depending on the manufacturer, some devices even come with application specific software (ie. metrology software) so you don’t need to get additional software.
There are third party softwares that help you take the acquired scan data for use in specific applications. Knowing what you want to do with the data will help determine what additional software you need.
- Directly reverse engineering to SOLIDWORKS: Point2CAD
- Modeling/Reverse Engineering: Rhino, SpaceClaim, Design X
- Inspection: Geomagic Control X, Compare2CAD, PointShape Inspector, Mobigage
- Scientific Measurement and Research: Metlab, Microsoft Excel
- Tube Bending: TeZetCAD
-
-
What are the different types of probe tips and what are their uses?
Probes can come in many shapes and sizes. Different probe tips are meant to help measure certain types of objects. Small point probes measure and give access to tight locations while larger probes can be used to average out surface deviation such as castings.
For example, a 1/8″ ball tip probe would be used to get inside of a small pocket for measurement. A 1/2″ ball tip probe would be used to measure rough cast parts to average the surface texture. A point probe would be used in software that does not have probe compensation.
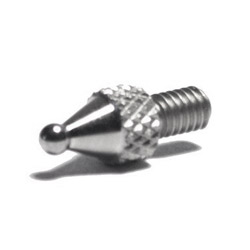
⅛” ball tip 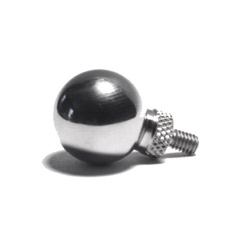
½” ball tip 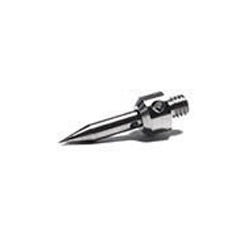
point tip -
Does a portable CMM need to be re-certified all the time?
No, not unless you are having problems in terms of getting optimal accuracy numbers from your portable CMM. However, if your company maintains ISO standards to uphold the highest quality standards it is best to have it re-certified annually for best performance. Depending on the device or model, you might need to ship it back to the manufacturer for certification or you might be able to do it yourself. Ask your solutions provider before purchasing if this is an important factor for you.
Do you have any questions about portable CMMs? Please let us know in the comments section.

– – –
Reference:
- Photo source: Traditional CMM, from Wikipedia
- Engineering.com: 3 Tips for Choosing the Best Coordinate Measuring Machine for Your Quality Process
Its very good information for some one who is searching for portable Coordinate measuring Arm. This information will clear all doubt related to what type of CMM arm he has to purchase.
Thanks Gomeasure team for posting such greate information.