Originally published on: July 14, 2016.
These two scans were captured by the same 3D scanner.
But why are the results so different?
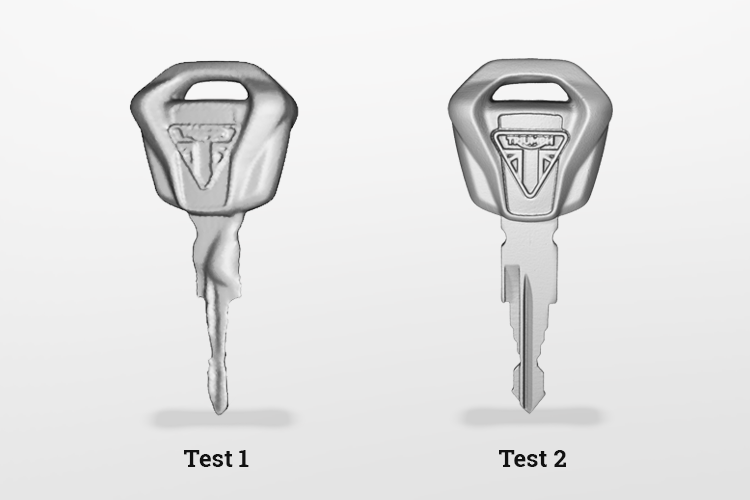
A major obstacle in getting the best results out of a 3D scanner is mastering the nuances of the 3D capture process, which can be challenging for new users to know if they are just getting started.

For Instance, Did You Know?
- 3D scanning shiny objects can be problematic because reflective surfaces scatter the light projected from the 3D scanner, causing a less-than-ideal condition.
- Repetitive or symmetrical surfaces can make a 3D scanner lose track of its movement while scanning.
- Getting a 3D model in 360 degrees requires scanning the object at all angles, which can be a time-consuming process.
Nevertheless, with practice and determination, anyone can overcome these challenges. You can unlock the potential to achieve remarkable results, elevating 3D scans from average to exceptional!
Our team has spent countless hours testing and understanding what it takes to get accurate and reliable 3D scanning results every time. We would love to share these tips and tricks to take your 3D scanning skills to the next level. Implementing them will make your 3D scanning process a lot easier and faster. Most importantly, get the best resolution and ultra-high accuracy 3D models from your 3D scanner.
First things first. Let’s go over some fundamentals of 3D scanning to understand the basics before we dive into the tips and tricks.

The Golden Rule of 3D Scanning
When you are 3D scanning, it is important to know that you should always:
Aim to capture the highest quality raw scan data from your 3D scanner rather than relying on post-processing algorithms
3D scanners capture raw 3D measurement data of a real-world object in the form of point cloud or polygon meshes.
Raw 3D Measurement Data (Scan Data)
-
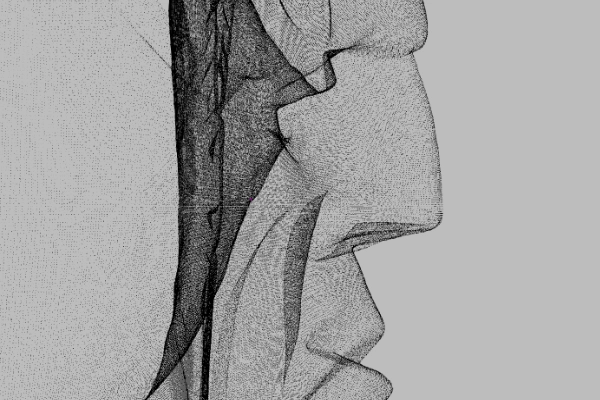
Point Cloud -
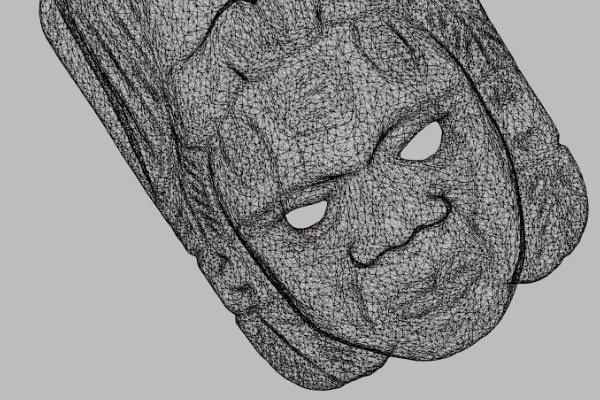
Polygon Mesh
Post-processing is the modeling stage where you clean up and transform individual 3D scans and merge them into a unified 3D mesh.
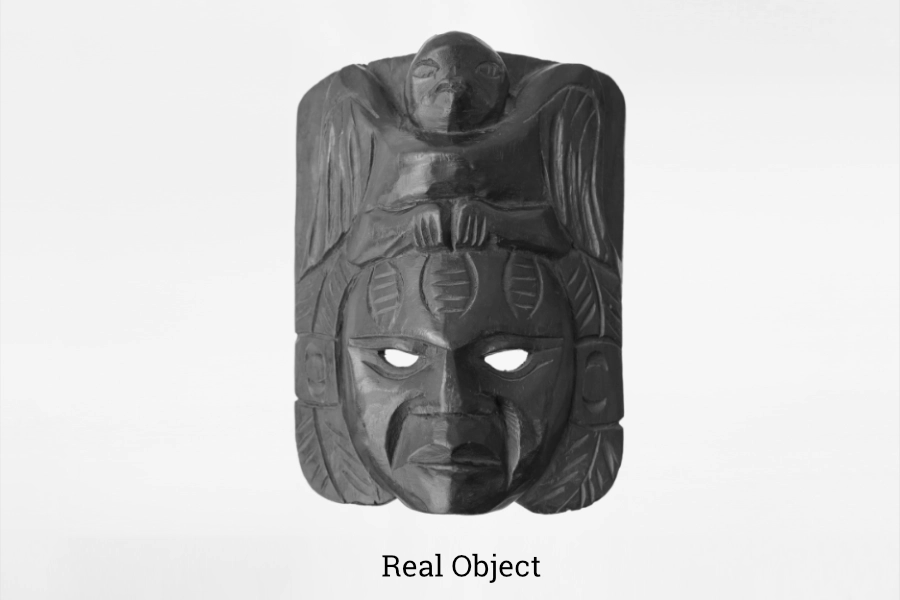
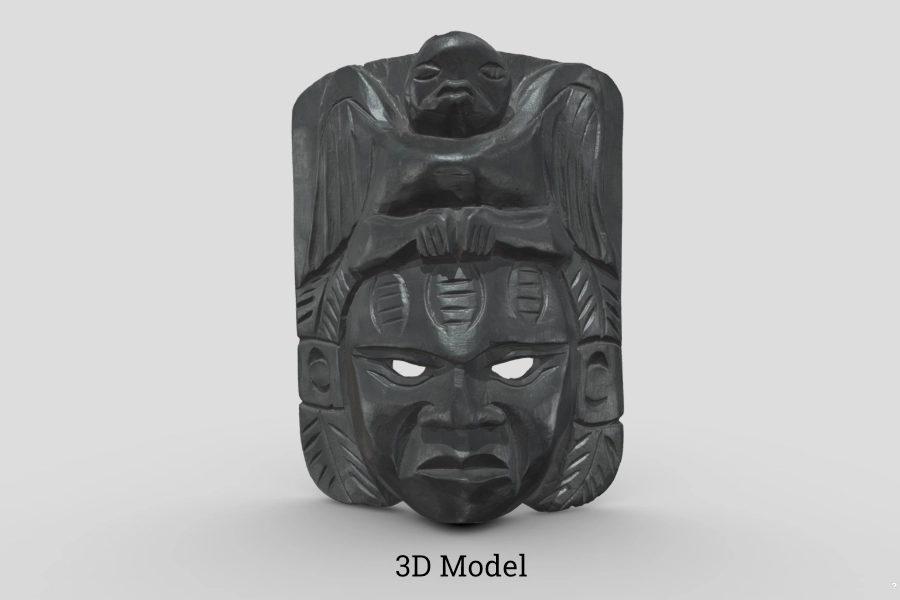
View the Maya wood carving scan model on Sketchfab.
Finally, the rendered 3D models can be exported in a variety of industry-standard file formats. For advanced applications (such as reverse engineering, quality inspection, or CGI), additional post-processing software may be necessary. However, nowadays advanced 3D scanning software like Artec Studio extends beyond the basic 3D scanning cleanup to handle some of these operations.
3D Scanning Workflow
-
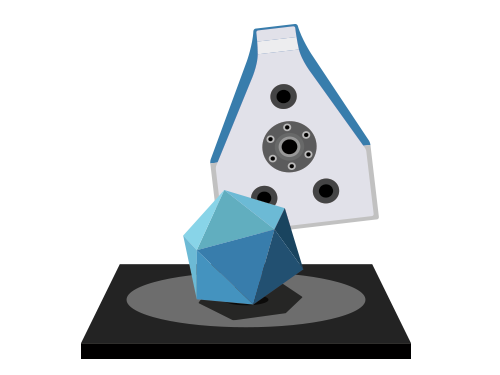
Geometry Acquisition
Data collection phase where the user captures all sides of the object using a 3D scanner.
Output:
Raw scan data
-
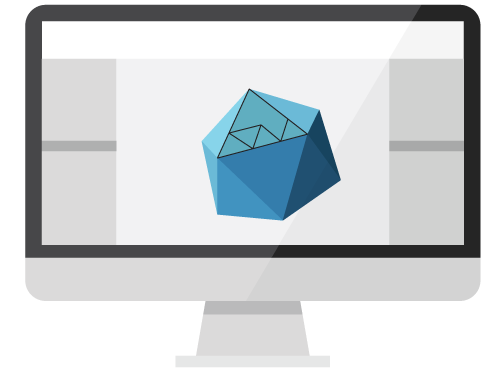
Post-Processing
3D modeling phase that includes hole-filling, cleaning, aligning, and merging individual scans into a digital 3D model.
-
Export for Use
Making the data available for use in another software by exporting it into standard file formats (PLY, OBJ, STL, ASC, FBX).
Output:
3D model ready for industry use
Capturing high-quality raw scans during the data acquisition stage is crucial because post-processing cannot always improve the quality of poorly scanned data. Similar to cooking, fresh ingredients are necessary to create a delicious dish. The same applies to 3D scanning. Obtaining top-notch raw scans during the scanning process provides superior data to work with during post-processing, resulting in better final results.
Consequently, obtaining high-quality raw scan data from the outset ensures that less time and effort will be spent during post-processing, saving time, frustration, and headaches.
So, what steps can we take to make sure that we capture quality scans before post-processing?
Preparing for Success: Build a Strong Foundation
Proper planning and preparation are crucial for every project in order to achieve high-quality 3D scans. By taking the time to prepare, you can simplify even the most challenging projects. The objective is always to do it once, instead of working in a perpetual cycle of re-scanning the object over and over again due to poor planning.
If your 3D scanner produces noisy scan data, this is often an indication for a need to improve either the device settings or the physical setup. Remember, investing in preparation now can save you significant time and effort down the line.
Planning and preparation = Less work later
Here are eight tips to help you capture quality 3D scans from the start:

Get the best scans from your 3D scanner by following these simple tips.
-
Tip #1: Take Control of Your Environment
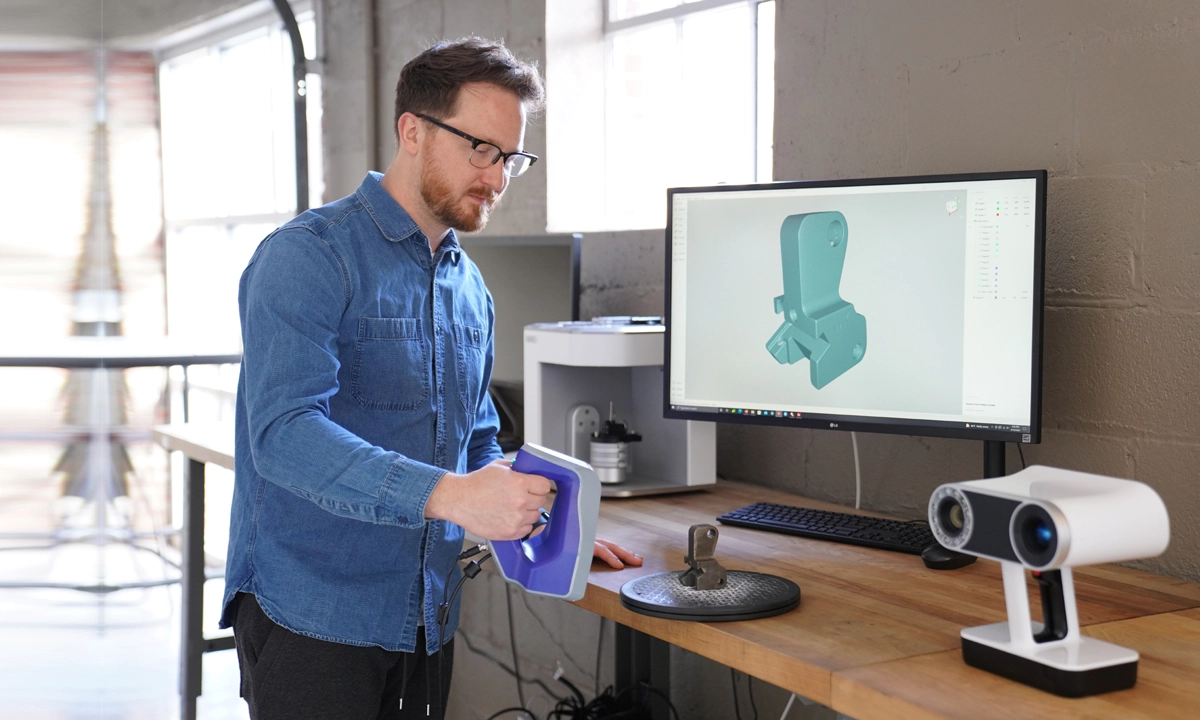
If you are 3D scanning indoors, have a designated area for this purpose. Creating a controlled environment gives you a better chance of getting consistent scan results.
While the 3D scanner is acquiring data, excessive movement from the object or the device can create noisy scans and inaccurate results. Make sure you are 3D scanning in an area free from vibration from the ground (scanner placement – this is especially true for desktop or tripod-mounted 3D scanners) or surfaces such as a table (object placement).
Consistent lighting is also crucial for scanning. Bright lighting can cause noisy data. It is best to switch off or dim the lights for better results.
Some 3D scanners are capable of scanning outdoors. If you are scanning outside, do it in a shaded area away from direct sunlight with consistent lighting to capture the best scans.
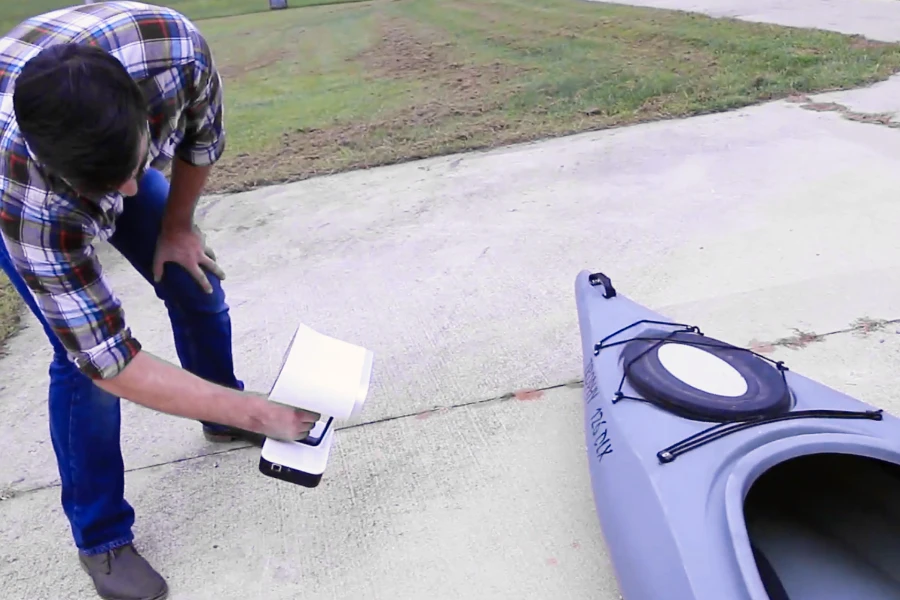
3D scanning a kayak outdoors with the Artec Leo handheld 3D scanner outdoors. -
Tip #2: Use the Right Fixture
To prevent objects from falling down halfway through the scanning process due to improper mounting, it is essential to fixture them properly. Make sure the object is placed on a stable surface. For objects that don’t sit well on flat surfaces, you can use clay putty or clamps to hold the part in place.
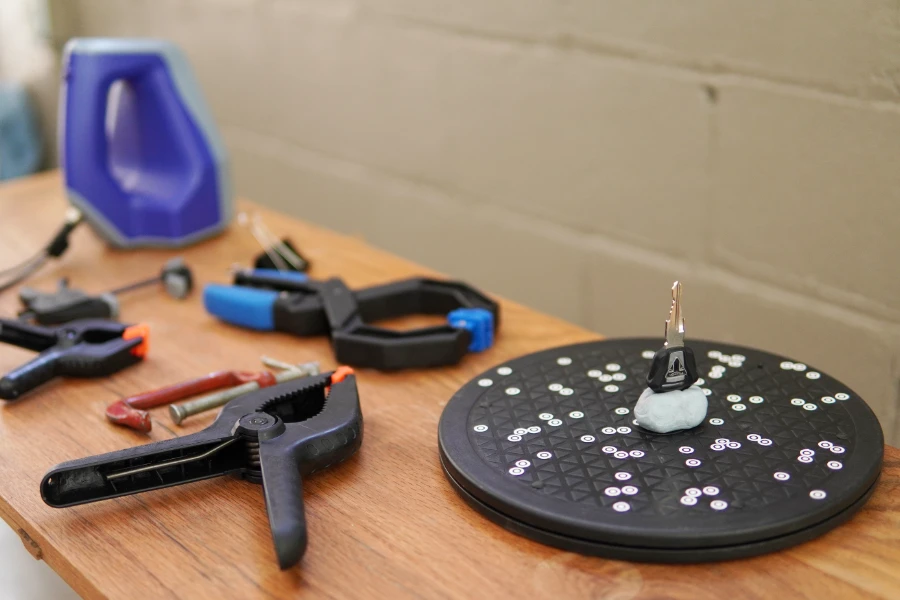
You don’t have to spend too much money on 3D scanning accessories. You can use everyday office supplies (for example, modeling clay, putty, clamps) to secure scan objects in place. It is important to keep the object fixed securely to the surface. Even though the fixture will be deleted during post-processing, it is an essential component in the 3D scanning workflow. Background objects (or fixtures) like a floor, table, or turntable provide valuable reference points for the 3D scanner. Good fixtures have unique geometric shapes and textures to help the 3D scanner track movement and establish scale.
-
Tip #3: Use A 3D Scanning Spray For Scanning Challenging Surfaces
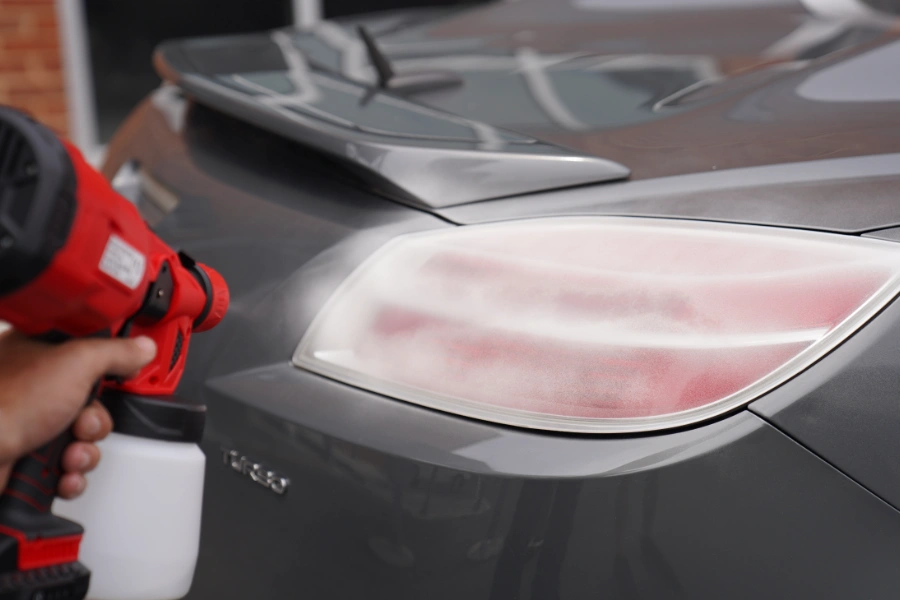
3D laser scanners and structured-light 3D scanners have difficulties capturing parts with shiny, dark, or clear surfaces. These types of measurement devices use light as a projection source. The light scatters when scanning surfaces such as metal or glass.
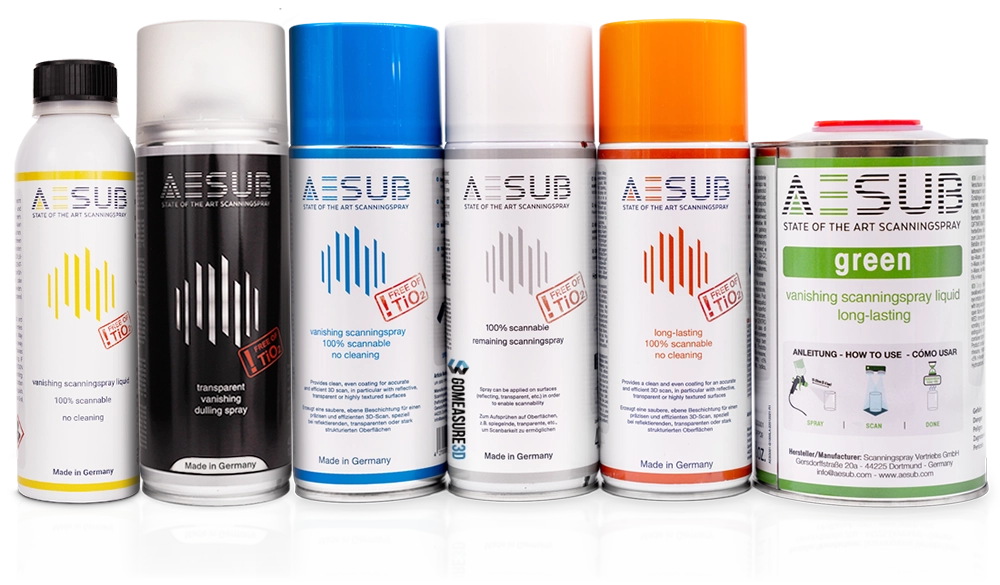
To overcome this challenge, a developer aerosol spray can temporarily coat parts and create a uniform matte surface finish for 3D scanning. In our lab, we use AESUB 3D scanning sprays extensively for our projects and they work very well for 3D scanning applications.
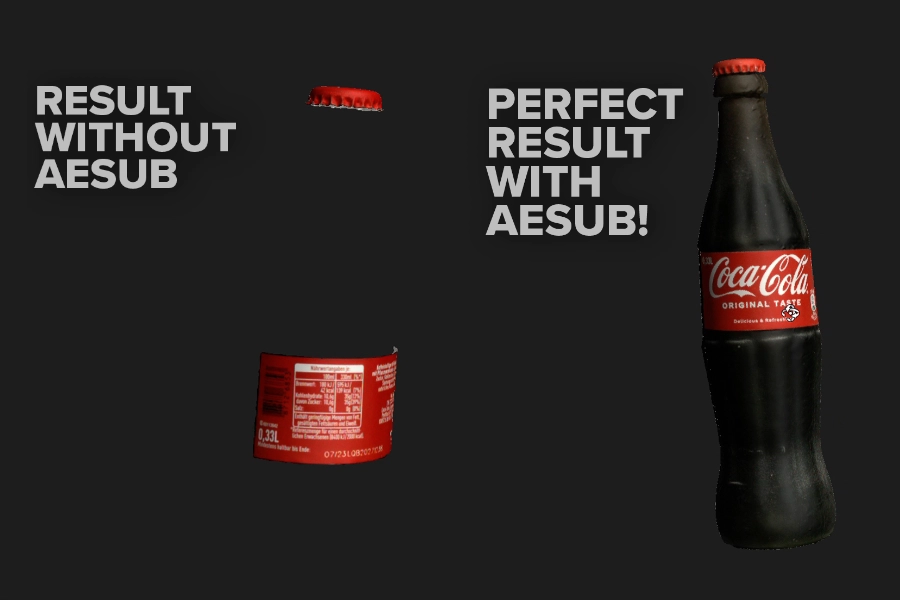
Spraying a part with 3D scanning spray allows the 3D scanner to capture surfaces that would otherwise be impossible to do. In this example, AESUB Transparent dulling spray is used to capture the color of an object—even for dark surfaces. 
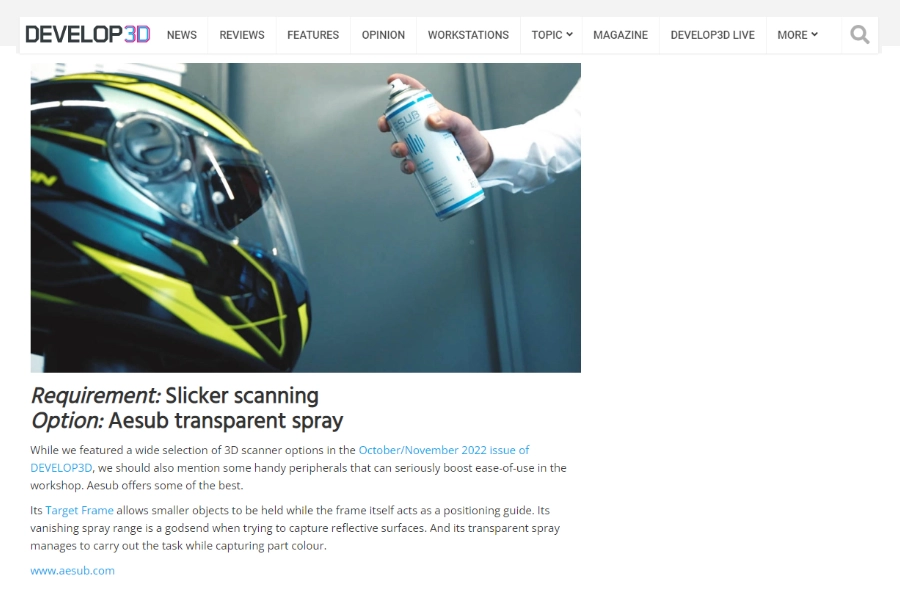
“Its vanishing spray [AESUB] range is a godsend when trying to capture reflective surfaces.””
– Develop3D Guide To The Best Prototype ProductsYou can view our lab tests and tutorial videos to learn more about how to prepare difficult surfaces for 3D scanning.
-
Tip #4: Rotate the Object While 3D Scanning
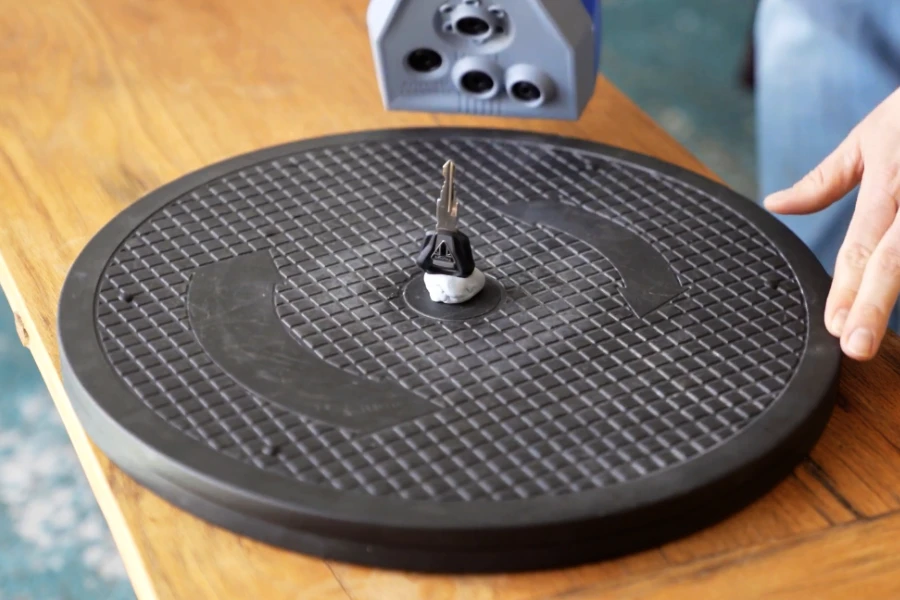
The data acquisition stage requires that you capture multiple scans of an object from all sides for full coverage. You don’t want the object to slide around the table while scanning. Any movements to the objects being scanned (and the turntable) during the 3D capture process will confuse the 3D scanner’s tracking and registration algorithms built into the 3D scanner. To help rotate the object with ease to get better quality scans, we like to use a manual turntable to rotate the object while scanning. It prevents the object from sliding or teetering while it is being scanned.
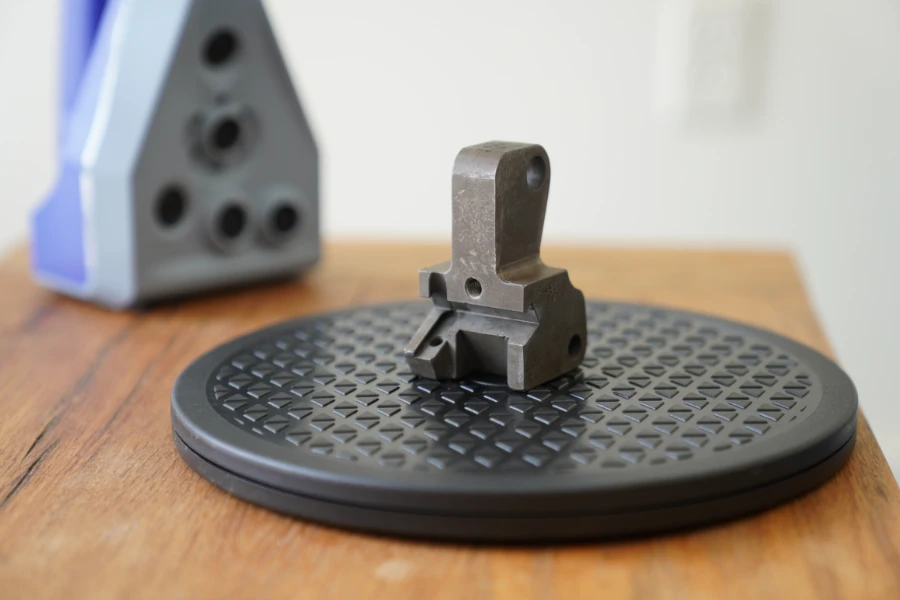
The rotary table we carry has a pattern that helps with scan alignment during the post-processing stage. -
Tip #5: Scan With A Textured Background

In 3D scanning, texture refers to the color photographs captured alongside the 3D geometry.
Using a textured background is beneficial for tracking and registration during the 3D scanning process. A background with unique geometry or texture can improve the accuracy of the scan by providing reference points for the 3D scanner to track and align the scan data.
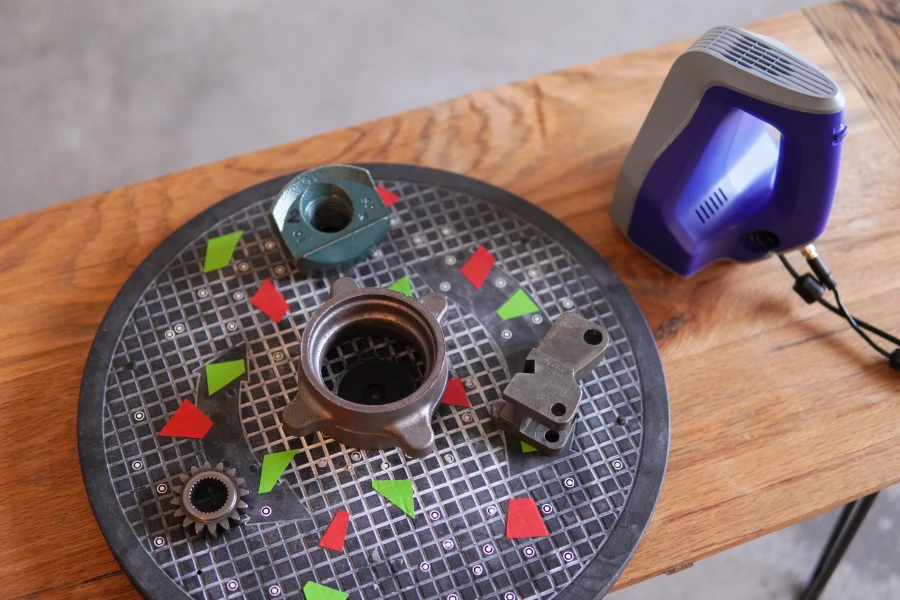
Color tape and photogrammetry stickers increase the uniqueness of the background. You can scan multiple parts at the same time to speed up the 3D scanning process. Texture mapping is a complex topic, but it’s important to note that 2D images with text and color provide excellent background reference in the 3D scanning workflow. The same goes for unique 3D geometry in the background, it helps:
- the 3D scanner track movement during data capture
- the 3D scanning software align the scans into a 3D model during post-processing
The background can be easily deleted during the post-processing stage.
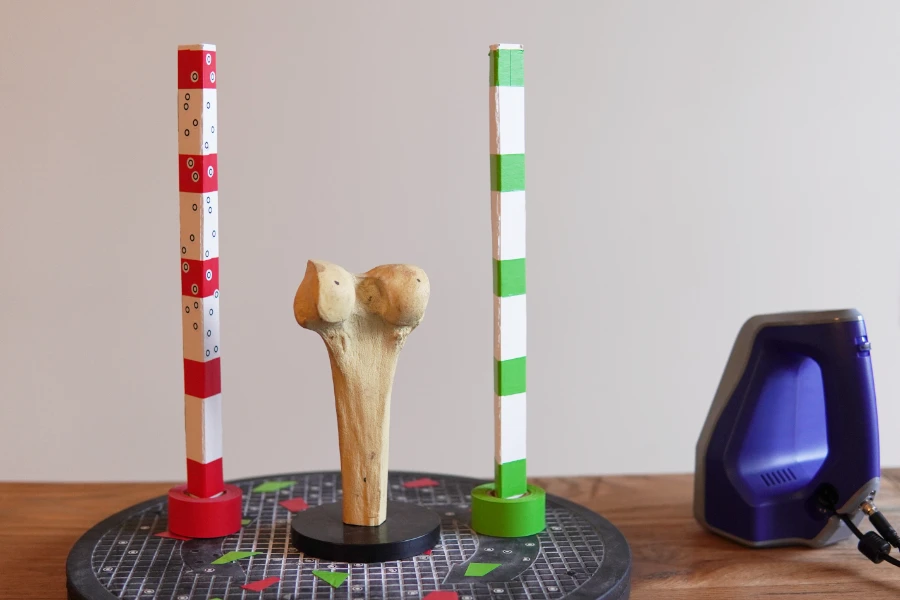
To provide unique geometry for taller objects, we use poles and put a sticker pattern at the top. 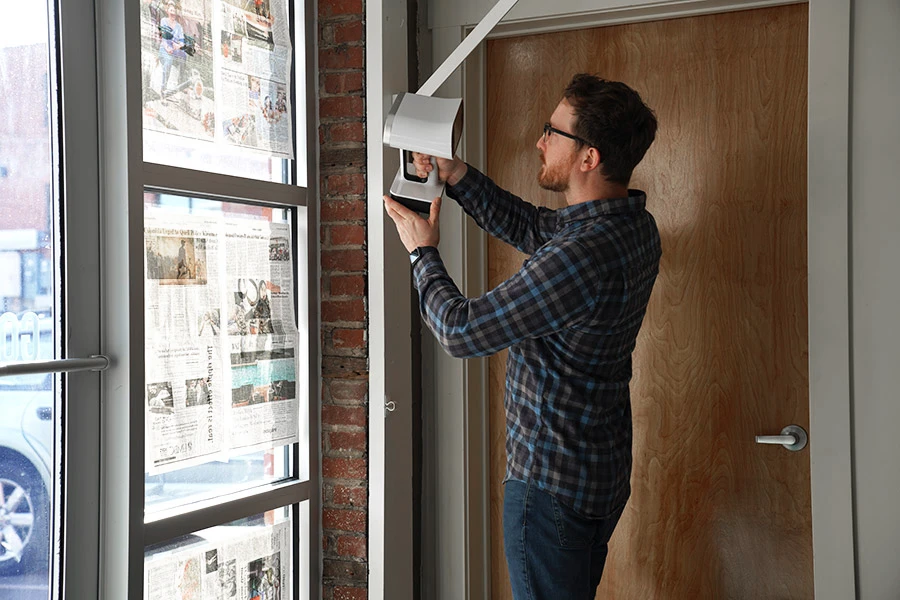
In this example, 3D scanning a symmetrical object like a window frame is made easier if we taped newspaper on the glass pane. Adding other three-dimensional objects to your scanning environment also helps your 3D scanner to better track and register the scene. -
Tip #6: Adjust Your 3D Scanning Software’s Settings to Match the Object
Using incorrect 3D scanner settings can result in poor scan quality. To ensure good scans from your 3D scanner, it’s crucial to adjust the exposure and brightness settings based on the object’s lightness or darkness. By using the appropriate settings, you can achieve the best possible scan results from your 3D scanner. Because each 3D scanner model is different, you should read the software manual for your 3D scanner for more information on the settings.
If you own an Artec 3D scanner, you can download the latest software manuals on our support site.
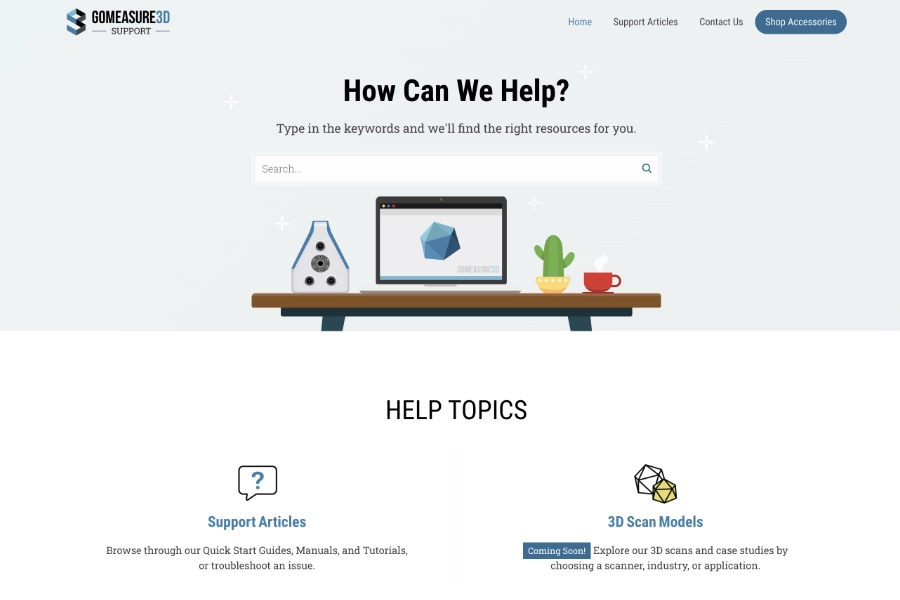
Our new technical support website has documentations and videos to help you get started on 3D scanning and troubleshoot any issues you have. You can always email us for help. -
Tip #7: Recalibrate Your 3D Scanner for Accuracy
A 3D scanner with poor calibration can result in inaccurate scan data.

What is Calibration?
Calibrating the 3D scanner helps maintain measurement accuracy and repeatability. Depending on the device, calibration may be performed by the user or the 3D scanner comes factory calibrated. It is a crucial process that allows the optical measurement instrument to determine its position, rotation, and behavior relative to the object being scanned.
Mishandling or improper transportation, such as jolts or accidental drops, can cause a 3D scanner to lose its calibration and produce subpar results.
To ensure accurate and high-quality scan data, it is recommended to recalibrate your 3D scanner periodically. The frequency of recalibration may vary depending on usage, but it is typically recommended to do so a few times a year. If you need to recalibrate the scanner yourself, be sure to follow the procedures carefully. You can also contact your vendor for guidance on how to achieve the most accurate scan results from the calibration process.
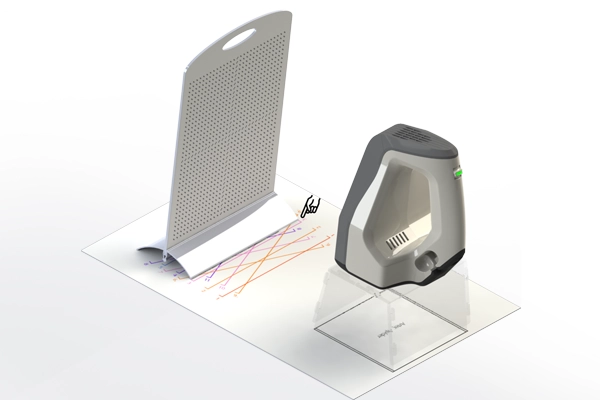
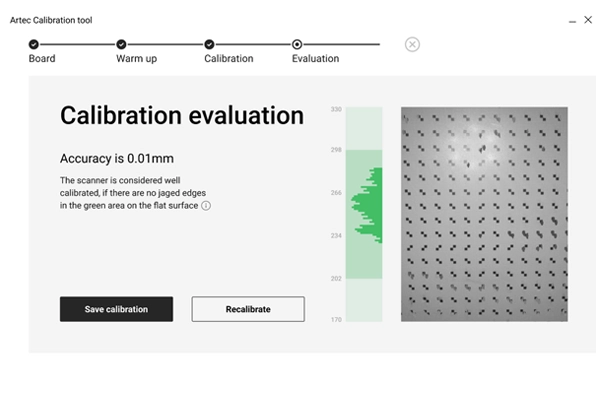
You can purchase calibration kits like this one for the Artec 3D scanning systems. Recalibrating your unit ensures you get the best accuracy out of your 3D scanner.
Artec scanners do not typically require recalibration if handled carefully. Normal users should consider recalibrate their scanner a few times a year to keep them in tip top shape.
-
Tip #8: Training
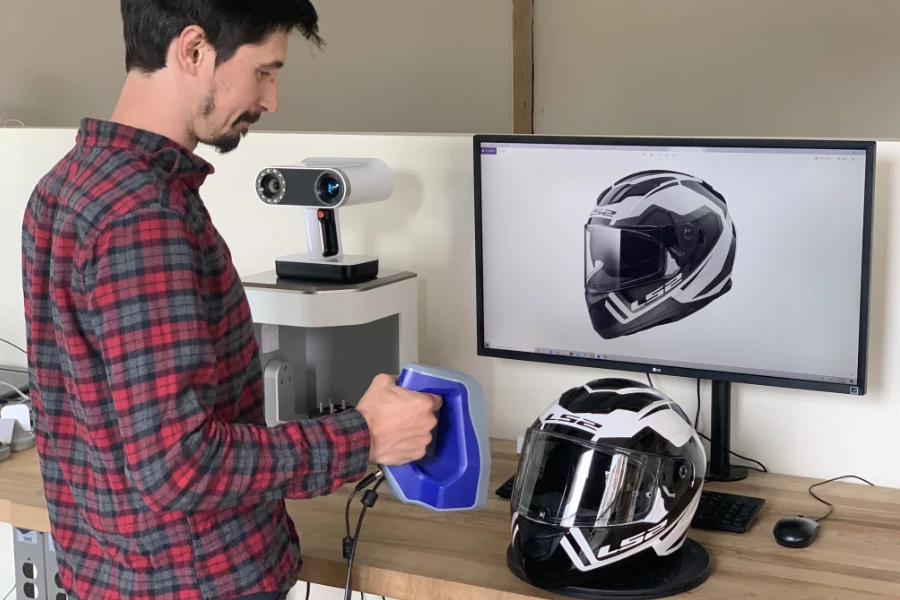
The user’s level of expertise is often underestimated as a critical factor affecting 3D scan quality. Even with the best equipment, insufficient training will limit its potential. To get the best capabilities out of your 3D scanner, it is recommended that you seek advice and guidance from your vendor or from a professional with relevant expertise. They use the equipment on a regular basis and can provide you with the expertise and tips on how to use a 3D scanner to its maximum potential. If you prefer self-guided learning, you can access online training through manuals, videos, and guides. It is crucial to allocate adequate time for training before commencing your first 3D scanning project.
At GoMeasure3D, we offer professional training to all customers who purchase a scanner from us.
Contact us if you need additional Artec technical support and training services.

Conclusion
The ability to get good scans will improve with practice and experience. You can learn a lot from mistakes, which will train you to become a 3D scanning expert.
It’s also important to remember that aside from preparation, the quality of the scanner will affect the quality of the scan data it produces. For example, professional 3D scanners using high-quality components and 3D scanning software that have undergone extensive R&D will produce better scan data quality compared to consumer-grade scanners. To learn more about this topic, please read our previous blog post related to how different types of 3D scanners affect scan quality.
Lovely, guys! Enjoyed the reading, its all valid and so true. Now a survey of the available systems would be good! Only there is about 100 companies by now…
Thanks for your feedback Gerd! It would be an ambitious project to review all the 3D scanning systems available in the market. However, we are looking to write a resource on different types of measurement tools for comparison, so please stay tuned.
Always reflect what an amazing job GoMeasure3D did when helping me to scan parts for a project. Absolutely wonderful people to work with !
Lyman, thanks for your kind words. We really appreciate that you came to us for your 3D scanning project and we’re happy to help you out whenever we can.
Great article. After reading this I was hoping you might be able to answer a question for me? What is the difference in scanning at say 250 dpi in the initial scan VS scanning at say 50 dpi and increasing the resolution to 250 post scan?
Dear Alan,
Thanks for commenting! Regarding your question, it’s better to scan at 250 dpi, as opposed to increasing the resolution from 50 to 250 post-scan. This is because you will be able to pick up the fine details from the physical model in the initial scan instead of assuming that there is no small difference in the part along that area. For instance, for a flat plane there wouldn’t be a big difference if you scan at 250 dpi or 50 dpi, but for a tight curve of a part or a small feature (like a chamfer or sharp edge) you would gain much better clarity to the actual positioning of the feature at a higher resolution of 250 dpi.
If you can, it’s always better to get the best quality scan data you can because scan quality only goes down after post-processing. You can’t get better quality data than you originally capture.
I hope that answers your question. If you have further questions. Please feel free to contact us.
For quality scanning we should use quality scanner to get premium touch as the object should be in proper position scan with dark background always use the correct scanner setting for avoiding bad scans.