
You’ve spent countless hours doing the research and have come to the conclusion that having a 3D scanner will help you tremendously with your work. It’s time to approach your manager in order to give you the green light on the purchase.
The only problem now is to convince them that this 3D scanner purchase will turn out to be a great investment for your company.
How do you present the value of a 3D scanner so they will approve?
Good news! We’re here to help 🙂
Reverse engineering is the process extracting knowledge from a manufactured part to understand its design and construction. The goal is to create documentation in order to make a new one.
Reasons for reverse engineering include:
Let’s look at the conventional and modern approach to reverse engineering and see how they differ.
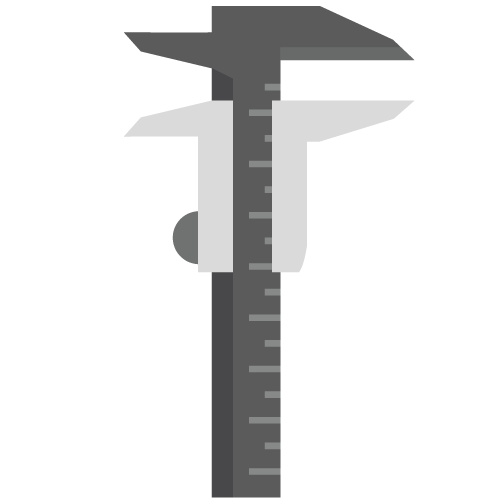
Traditional methods of reverse engineering use tools such as vernier calipers, micrometers, tape measurements, or gages for taking critical surface measurements of the object manually by hand. Then, the operator would use the collected measurements to design the CAD model from scratch using CAD modeling software.
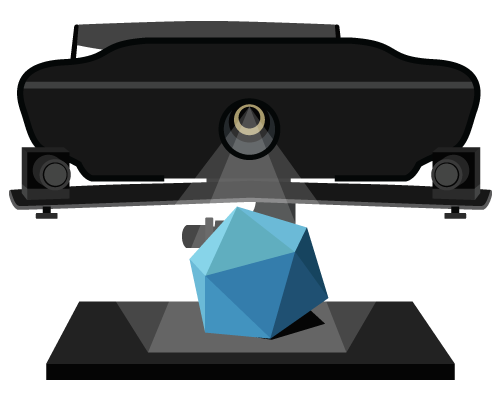
The modern approach to reverse engineering is known as Scan to CAD. As its name suggests, it’s using scan data from a 3D scanner as a guide to create the CAD model.
The operator uses a 3D scanner to take 3D surface measurements of the object. Each measurement point contains accurate XYZ coordinates. Certain 3D scanners, such as a structured-light 3D scanner, can capture millions of data point from one 3D scan in just one second. The scan data is then used as a guide to sketch the part. It’s similar to tracing in order to speed up the time it takes to create the CAD model.
Using Scan to CAD approach to reverse engineering looks a lot different than using hand tools. The process is a lot less labor intensive, which is a time saver. Best of all, it gives you all the information you need to build the CAD file properly and accurately too. There’s no guesswork for less headaches and frustrations.
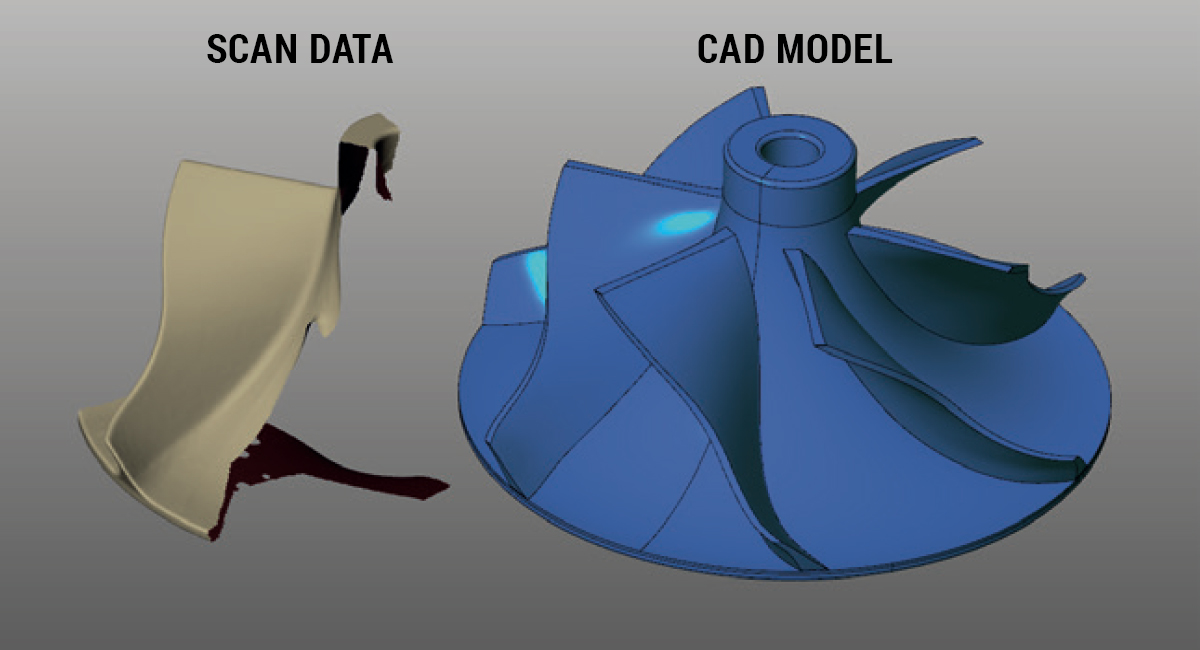
Hand measurements are traditionally linear by nature. What can be assumed to be a straight line to the eye may in fact be a spline. It’s difficult to figure that out using conventional measurement tools.
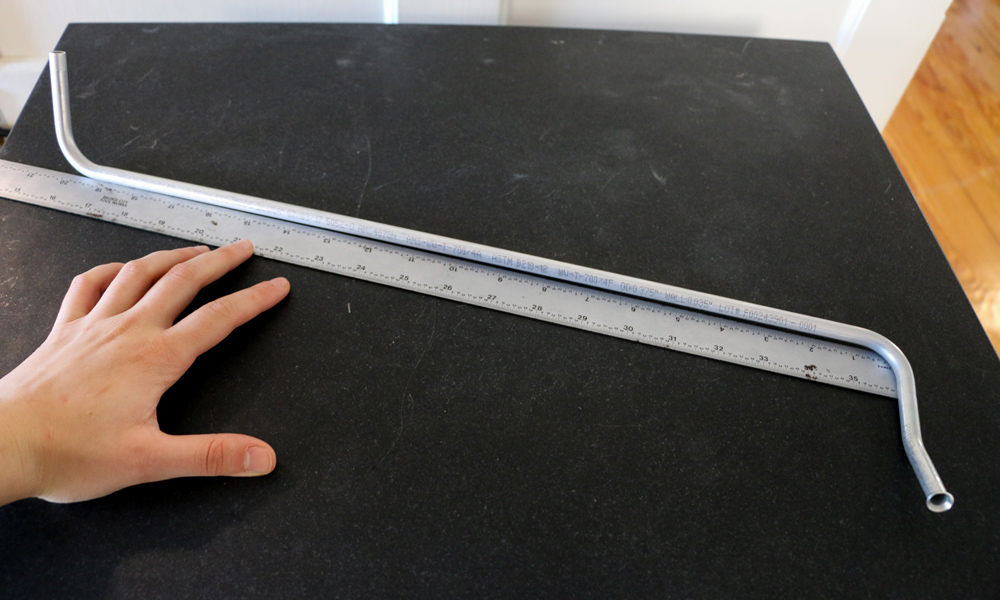
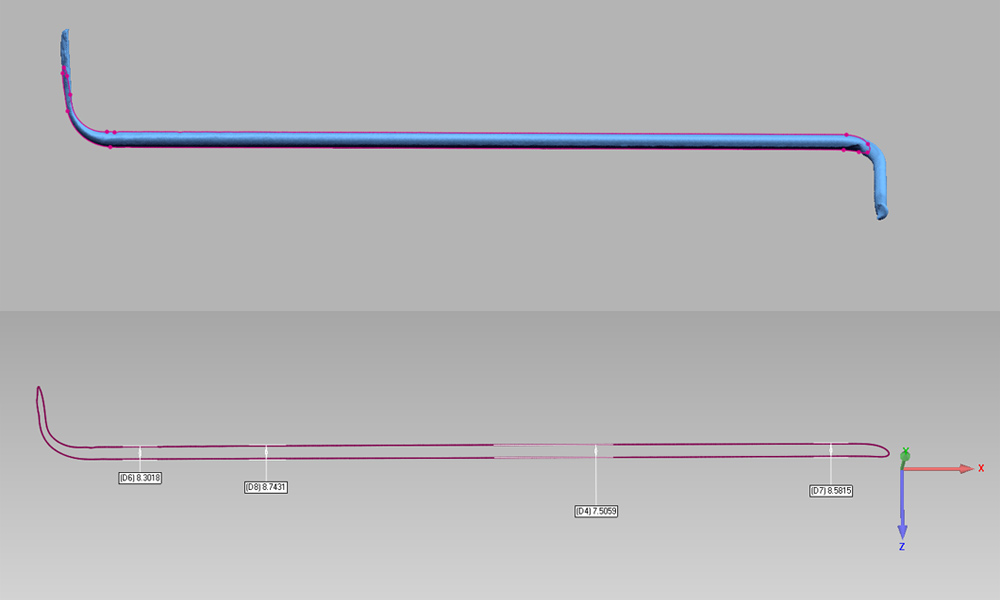
To the eye, it looks like the pipe has the same thickness throughout its length. When measuring from just one edge, the tube would seem to have an unnecessary bend. Using a 3D scanner, you can see exactly why this is the case.
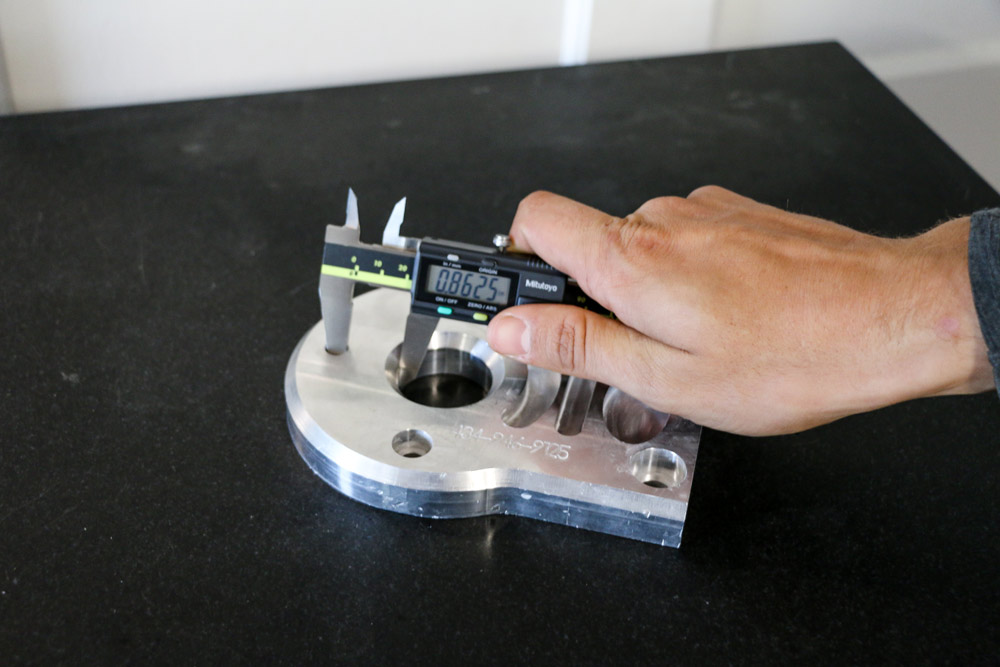
It is easy to find the diameter of a hole with a caliper.
These are questions that traditional measurement tools struggles to answer but a 3D scanner can answers these questions quickly and with certainty.
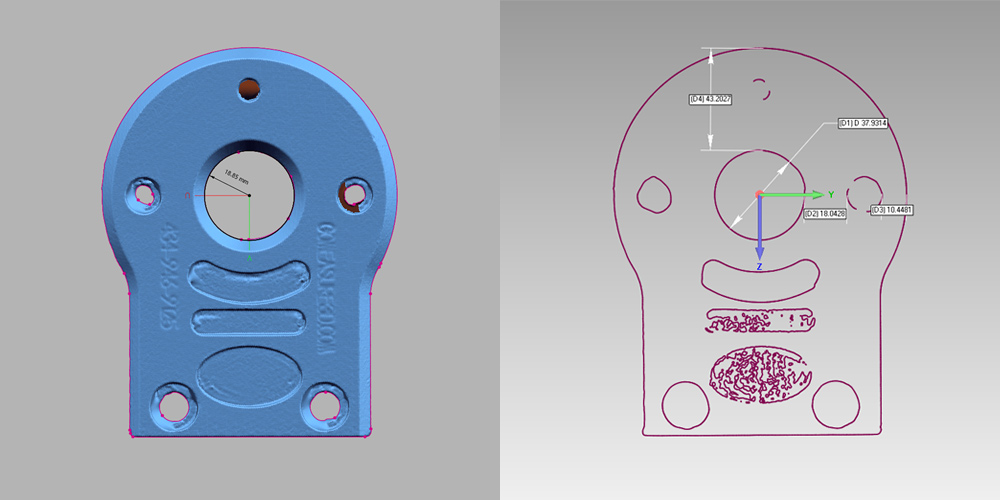
With hand tools, understanding geometry location in 3D space (XYZ) can be difficult, in terms of how features of a part relate to one another. 3D scanner gives you a better picture with full coordinate in 3D space and feature information of any component.
Scan data from a 3D scanner gives you the ability to understand and interrogate the part to a much greater detail compared to measurements taken with hand tools. The scan data is also very accurate, with some 3D scanners generating up to 25 micron accuracy per scan. You need reliable data you can trust for making important decisions.
| Conventional Way Hand tools for simple, straightforward jobs | Scan to CAD Structured-light 3D scanner for more sophisticated projects |
|---|---|
| Take one measurement at a time (Slow) | Each scan captures about 1+ million 3D surface measurements in under 1 second (Efficient) |
|
Measures basic prismatic parts but not sophisticated enough or practical to measure complicated parts or organic surfaces. There are surfaces or features that are very difficult to measure, if not impossible, to recreate without 3D scanner. (Limitations) |
Measures parts with organic and complex shapes (Versatile) |
| More prone to human error due to variations in how measurement procedures are carried out (Not very accurate) | Non-contact measurement device with sub-thousands of an inch accuracy (High accuracy) |
| Efficient for simple jobs (Little to no training required) | Requires basic training to learn the process (Training required) |
| Slower process, in terms of time it takes to take measurements by hand and waiting for engineers to work on CAD drawings from scratch (Creates bottleneck) | Efficient at reverse engineer parts with quicker turnaround times for creating CAD models by using scan data as a visual guide for design. Speed up product development cycles for faster time to market. (Minimize bottlenecks) |
| Can’t take too many measurements within a time constraint (Limited intelligence) | By collecting and extracting more intelligence about the existing product in a short period of time to understand the design intent, you hold the power to design better products. (More knowledge) |
| Inexpensive | More costly |
Another advantage to using the Scan to CAD process is that it inspires innovation in product design.
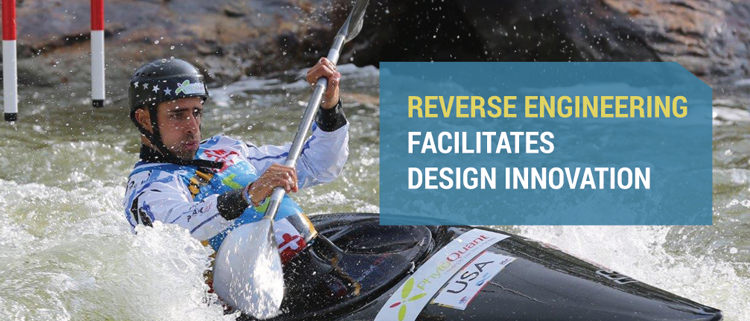
Learn how two-time Olympic medalist, Fabien Lefevre, redesigned a new hybrid kayak/canoe using Scan to CAD for his upcoming races.
Read Case Study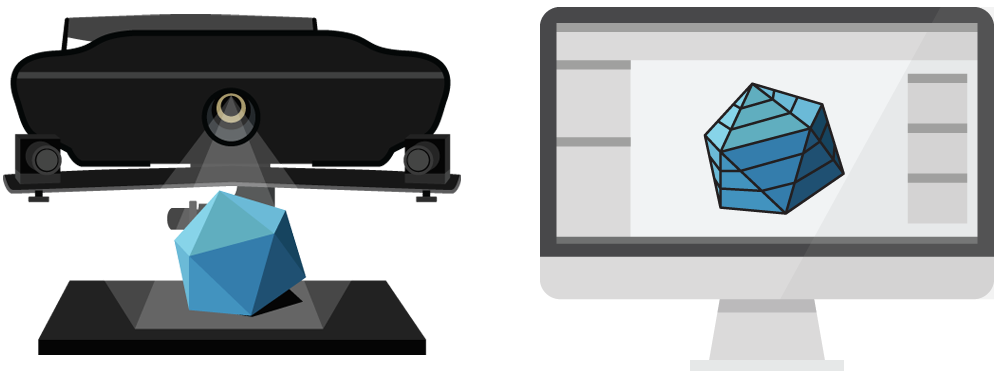
Scan to CAD solution includes the purchase a 3D scanner and reverse engineering software to create the CAD model once the scan data is collected. The cost can vary depending on how accurate you need the 3D scanner to be, as well if you need basic or advanced reverse engineering software package.
Scan to CAD solution can range from $7,500 for a basic solution to $35,000+ for a high-end solution (in US dollars). Contact us if you would like to learn more about these solutions.

If you are, there are low-cost reverse engineering plugins that work directly with the 3D scanner to help you reverse engineer from SCAN to CAD without spending too much. Advanced standalone reverse engineering software, which contain a full set of comprehensive features, can be quite an expensive investment for a small to medium sized company. Plugins that work directly with CAD modelers are substantially cheaper and they still get the job done.
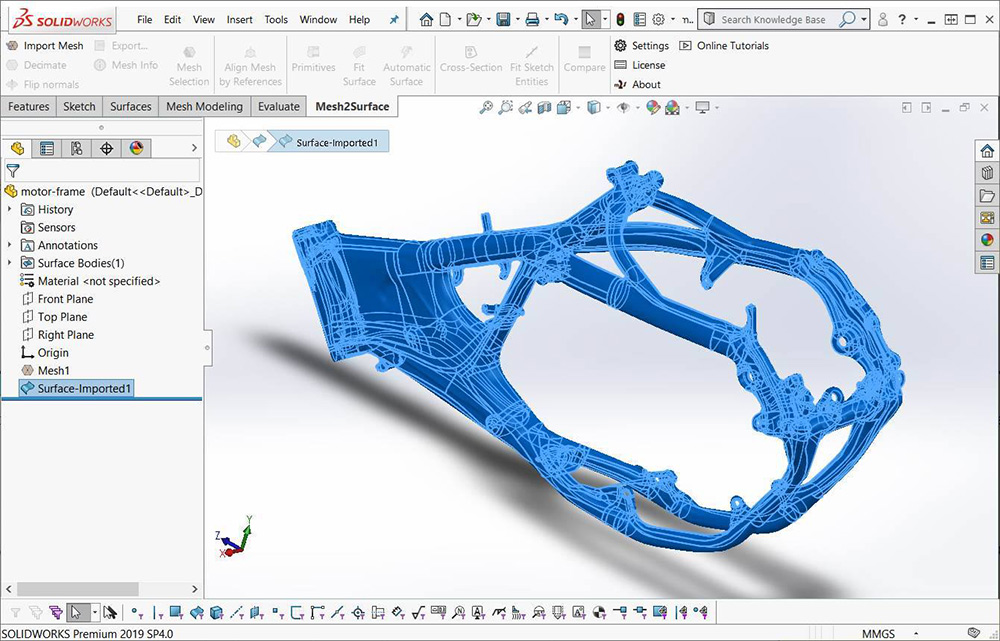
As an added advantage, these reverse engineering plugins works natively inside these CAD modeling programs, so you don’t have to learn an extra piece of software. Contact us if you would like to learn more about these solutions.
From our 19 years of experience working with our clients on Scan to CAD projects, we see a typical return on investment on Scan to CAD solution can range from approximately 2-4 months, depending on the complexity of your application as well as how much you invest in the solution.
Below are some examples of approximately how much time and money saved by investing in a 3D scanner using a basic mechanical part.
Manually using Hand Tools8 hours |
Scan to CAD using 3D Scanner2 hours |
Time Saved using Scan to CAD6 hours |
Save $300 per partBased on average work cost of $50 per hour = 6 x $50 |
Cut Down Time by 75%Scan to CAD takes about ¼ of the time it would take compared to doing it manually by hand. |
Manually using Hand Tools13 hours |
Scan to CAD using 3D Scanner3 hours |
Time Saved using Scan to CAD10 hours |
Save $500 per partBased on average work cost of $50 per hour = 10 x $50 |
Cut Down Time by 77%Scan to CAD takes about ¼ of the time it would take compared to doing it manually by hand. |
* We understand that ROI for a 3D scanner will vary depending on the complexity of your application and your investment on the solution. These numbers serve as a guideline only to give you a better idea on the return on a 3D scanner for a basic part. They are based on the projects we help our clients implement in the field for 19 years. If you would like to speak to us about your specific applications, we can work with you to figure out the ROI for your use case. Contact us if you would like to learn more.
Quality inspection compares the measurements of a manufactured part against the design blueprint to see if it meets acceptable standards (tolerance).
It’s important to have a solid quality inspection process. Having a good one in place ensures your company is manufacturing products at the highest standards.
Let’s see how the traditional way of part inspection is different from the modern approach using a 3D scanner for measurement.

The operator first takes selected critical measurements using hand tools and compare them to the CAD model. Height gauges, calipers, and micrometers being used on a surface plate are traditional ways of doing quality inspection but this process can be tedious and time consuming.

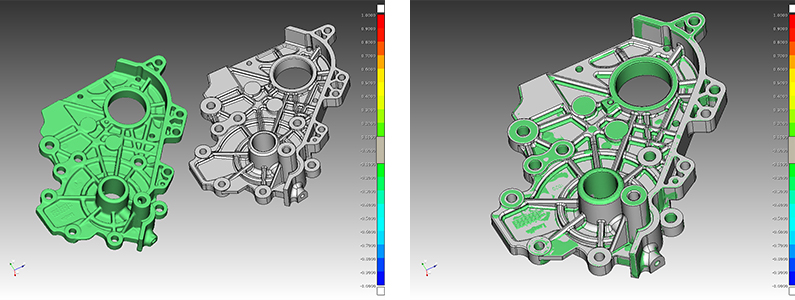
The operator uses a 3D scanner to capture millions of measurements per scan of the physical part and then compare them to the CAD model. 3D scans can be compared to CAD quickly and accurately using 3D inspection software. It enables the operator to see deviations of the manufactured part compared to the master model for any surface measurements.

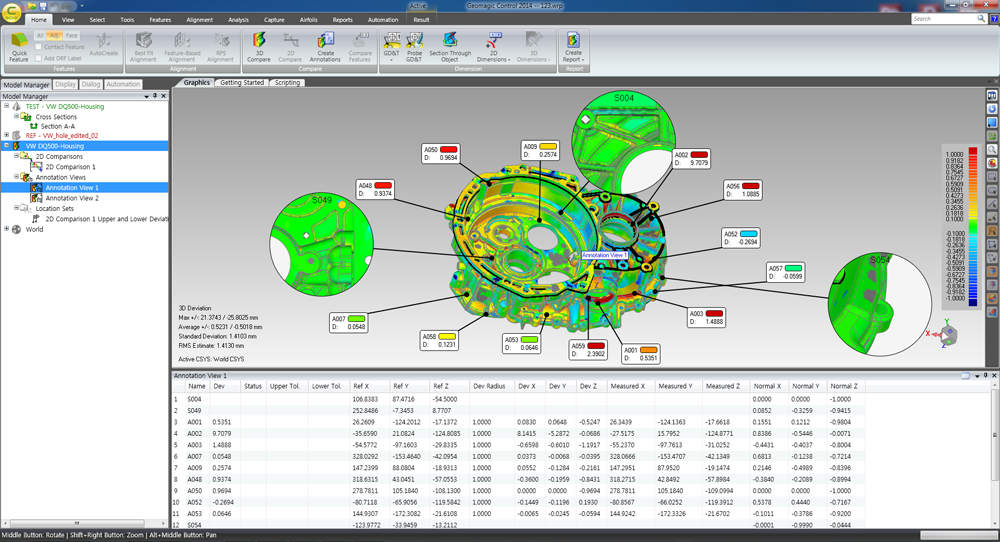
Imagine getting the most comprehensive reports with visual reference of the measurement deviations between a manufactured part to CAD. You can pinpoint exactly where the problem areas exist and work on fixing them immediately. This can be accomplished using a 3D scanner and 3D inspection software.
One of the common inspection applications we’ve seen from working with our customers is for checking for tooling wear and tear. For example, tool and die makers need to inspect their hot stamping die when it is not manufacturing products properly. It’s sometimes difficult to understand what the problem is with hand tools, and in some cases even portable CMMs, as you can only take limited measurements to uncover the root of the problem. This can cause production to come to a halt.
Tool and die makers can avoid costly tooling error and time delays with an accurate 3D inspection solution. The operator can take a scan of the die using a 3D scanner, compare it to CAD, and can see exactly where there is wear and tear on the die that is causing manufacturing issues.
3D Inspection:
| Conventional Inspection (By Humans) | 3D Inspection (Using a structured-light 3D scanner) |
|---|---|
| Capture one measurement at one time (Time-consuming) | Each scan captures about 1 million 3D measurement points in under 1 second (Efficient) |
| More prone to human error during the measurement process. Defects might be missed. (Not accurate) | Non-contact measurement tool with sub-thousands of an inch accuracy (High accuracy) |
| Can only compare limited number of measurements (critical ones) due to time restraint and practicality to understand the issue. (Limited knowledge) | Ability to compare about 1 million data measurements with CAD model almost instantaneously to get a more comprehensive view of the issue. (More knowledge) |
| Tooling and first article inspection slowed down by labor intensive processes that takes up time. (Bottlenecks in inspection process) | Ability to measure parts quickly and compare to CAD models to see deviations immediately (Faster) |
| Inexpensive | Requires equipment investment |
One of our Metal Fabrication customer purchased the HDI 3D scanner with Geomagic Control 3D inspection software to create a heavily automated 3D inspection process for scanning parts approximately 24” in length. They integrated FlexScan3D (3D scanning software that powers the HDI 3D scanner) and Geomagic Control to work together. The customer was happy with the results as they are now able to achieve scan to report time of under 3 minutes with minimal involvement by the operator.
“You can only build high quality handguns if you have high quality equipment and exacting standards. GoMeasure3D provides that [3D scanning] technology for us. We have used the technology extensively in product development and design.
In addition, we also use the 3D scanners in quality control to ensure everything matches specifications. They’ve made our design processes faster and allowed us to raise the bar on quality.”
Gary Ramey President of Honor Defense
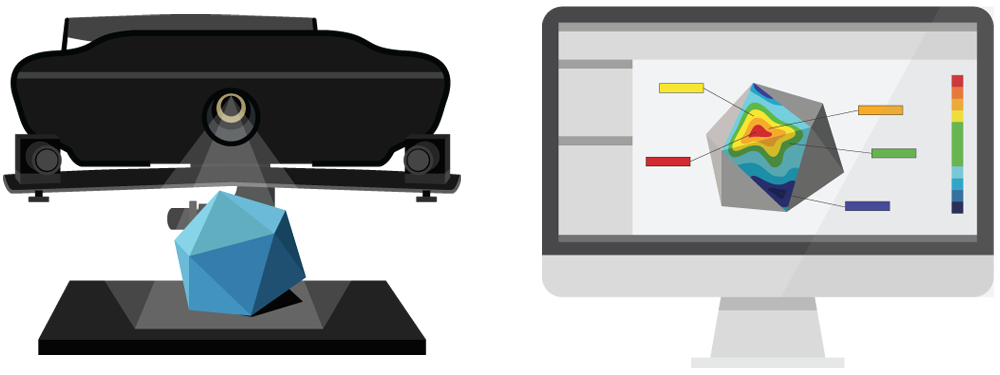
Getting a 3D inspection solution entails purchasing a 3D scanner (equipment) and quality inspection software for comparing 3D scan data with CAD model. The investment cost varies from $10,000 for a basic solution to $45,000+ for a high-end solution (in US dollars).
Contact us if you would like to learn more about these solutions.
Looking for low-cost 3D inspection software?
High-end industrial grade quality professional 3D inspection software can get expensive. Not everyone have the funds to purchase comprehensive standalone inspection packages that includes all the bells and whistles of a full inspection software. Sometimes, all you need is just need a solution that gets the job done. There are affordable 3D inspection software options out there if you have a modest budget.
Contact us if you would like to learn more about these solutions.
From our 19 years of experience working with our clients on 3D inspection projects, we see a typical return on investment on inspection solution can range from approximately 2-5 months, depending on the complexity of the part and how much is invested on the capital investment.
Below are examples of approximately how much time and money saved by investing in a 3D scanner.
Manually using Hand Tools4 hours |
Scan to CAD using 3D Scanner1 hour |
Time Saved using Scan to CAD3 hours |
Save $150 per partBased on average work cost of $50 per hour = 3 x $50 |
Cut Down Time by 75%Scan to CAD takes about ¼ of the time it would take compared to doing it manually by hand. |
Manually using Hand Tools6 hours |
Scan to CAD using 3D Scanner1 hour |
Time Saved using Scan to CAD5 hours |
Save $250 per partBased on average work cost of $50 per hour = 5 x $50 |
Cut Down Time by 83%Scan to CAD takes about ⅙ of the time it would take compared to doing it manually by hand. |
* We understand that ROI for a 3D scanner will vary depending on the complexity of your application and your investment on the solution. These numbers serve as a guideline only to give you a better idea on the return on a 3D scanner using a basic part. They are based on the projects we help our clients implement in the field for 19 years. If you would like to speak to us about your specific applications, we can work with you to figure out the ROI for your use case. Contact us if you would like to learn more.
We hope that this guide is useful in the process of approaching your boss and getting approval for purchasing a 3D scanner. We understand that you might encounter hurdles along the way but we’re here to help. We can work with you to help you present a case on Why Invest in a 3D Scanner? for your specific application.
Each organization is unique and we’re always available to discuss with you and upper management on what’s the best 3D scanning solution that fits your needs.
