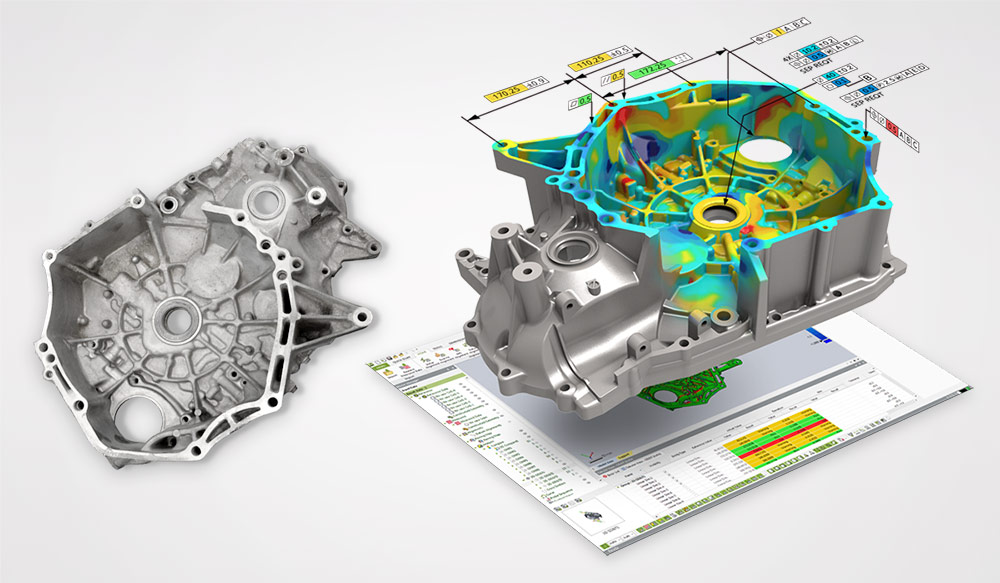
There are many advantages to using a 3D scanner for surface deviation analysis. You can quickly scan a physical part into digital form. When used in conjunction with 3D inspection software, you can see within minutes how the part compares to a standard (typically a CAD file or a golden part).
Simply put, 3D inspection is a method of determining whether a part deviates from the norm.
Here’s a quick video explanation of the concept:
The goal is to quickly identify the problem areas to:
- Correctly fix the issue in the shortest amount of time, or
- Pass/Fail a manufactured part to maintain high-quality control standards (depending on set tolerances)
What are the different types of 3D inspection used for surface deviation analysis?
Using a 3D scanner to inspect surfaces for deviations is useful in many ways. The most common use cases generally fall into the following categories:
- First Article Inspection
- Determining Flatness or Imperfections
- Wear and Tear Analysis
- Warpage/Shrinkage in the Part
-
First Article Inspection (FAI)
First article inspection is a thorough analysis of the first batch of goods created in production. It ensures the manufacturing process is set up correctly to prevent any major issues down the road.
First article inspection is the first line of defense for quality control in the production process. The process examines the first batch of manufactured goods to see if they meet design, engineering, and technical specifications. If issues do arise during this stage, the scan-to-inspection process can quickly identify and pinpoint any issues. It’s a proactive measure to ensure that problems don’t escalate with the manufacturing process when it goes into full production.
How It Works
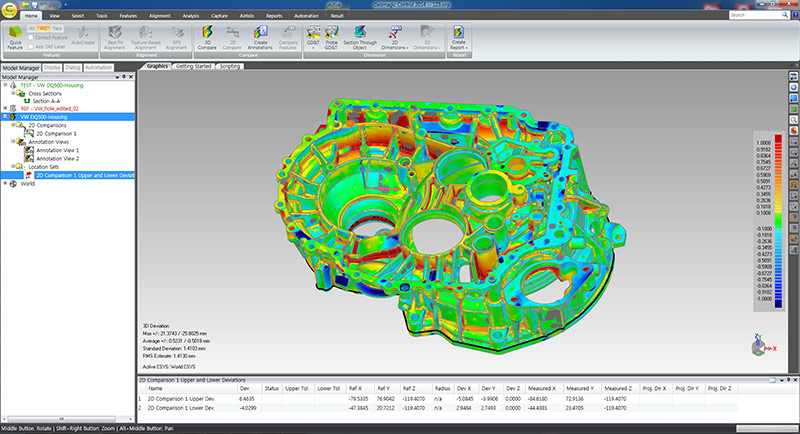
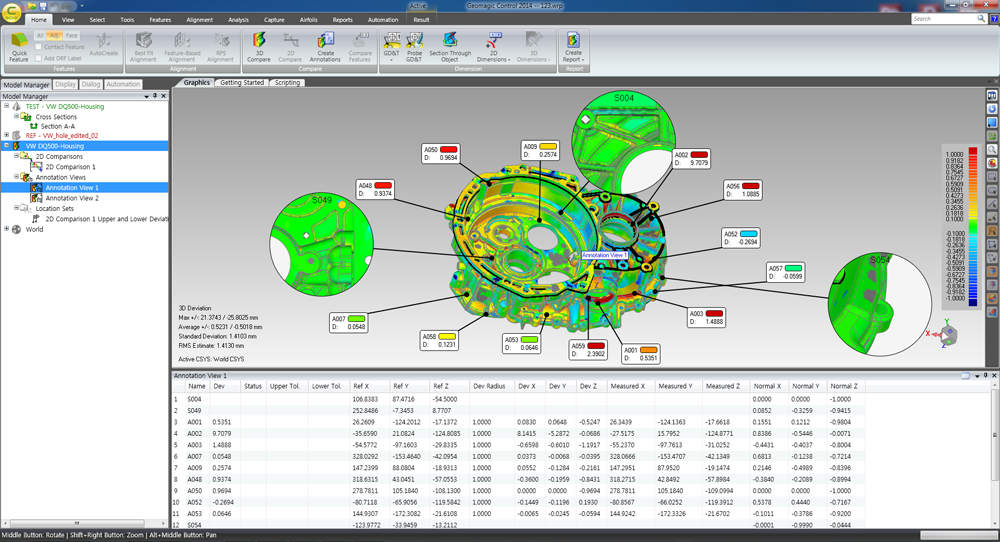
A 3D scanner captures a manufactured part into a digital 3D model with known measurements. 3D inspection software compares the scanned data against the CAD model. The color map indicates precisely where the areas are within tolerance (green) and also areas out of tolerance (lows and highs) to identify areas that need to be examined more closely.
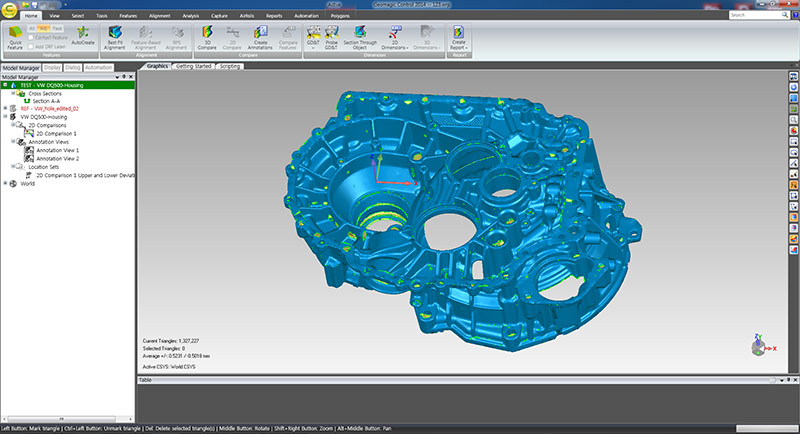
Step 1:
The manufactured product is converted into a digital 3D form with the help of a 3D scanner. The scan data is then imported inside a 3D inspection software such as Geomagic Control X in this example.
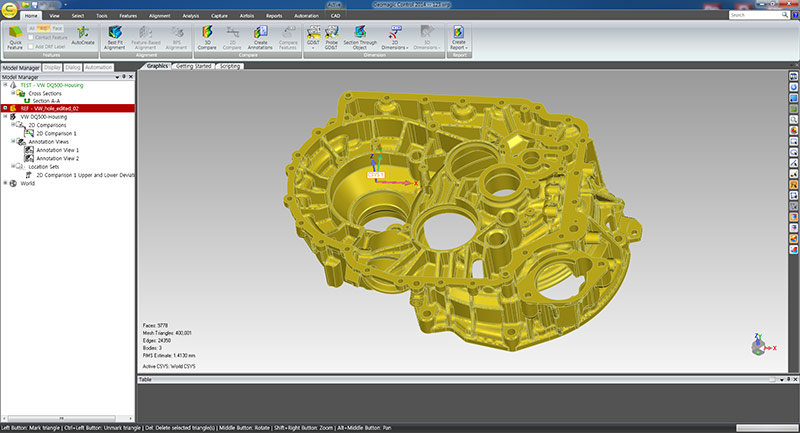
Step 2:
CAD data (design file) is used to compare against the scan data of manufactured product to check for deviations.
Step 3:
The two models overlay each other and millions of measurements are checked against the CAD model. Measurement deviations in the form of a color map are used to understand where and how much the variations occur.
Step 4:
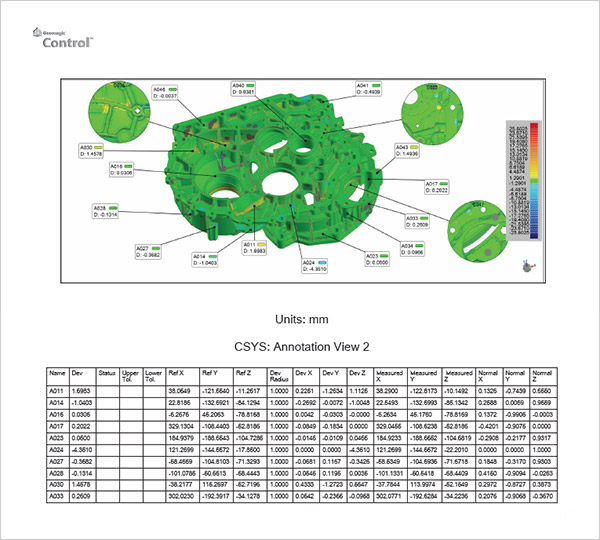
A detailed traceability report, including full GD&T and root cause analysis, provides the information and insights you need to further drill down in figuring out how to solve the problem.
7X faster
3D scanning and inspecting parts with Geomagic Control X is up to 7x faster than with a traditional CMM
80% lower
Geomagic Control X customers report up to 80% lower inspection costs based on time and labor savings
Source: 3D Systems
Manufacturing problems can be quickly identified using 3D inspection which can result in huge time and cost savings.
From experience, common issues often stem from the equipment or the material(s) being used to manufacture the product.
-
Determining Flatness or Imperfections

When machining materials like steel or cutting glass, manufacturers want to make sure with certainty that the production process doesn’t produce imperfections that would affect the overall quality of the product.
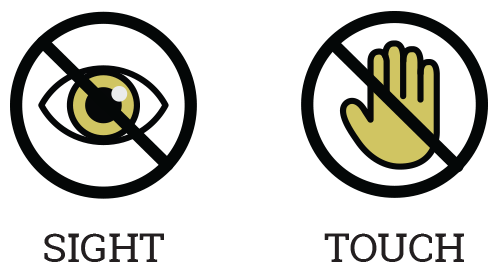
Some manufacturing imperfections are difficult to detect with the sense of touch or seen with the naked eye. 3D inspection empowers you to analyze surfaces in ways that are not capable of using human senses alone.
You can also use a 3D scanner to measure flatness on a surface with a given tolerance or where the part deviates (streaking or small bumps) that would otherwise be difficult to trace.
Fixing the issue normally entails fixing the machine or switching out the tooling component to a different brand.
-
Wear and Tear Analysis

Simple wear and tear applications consists of scanning the part before and after use.
Here is a video demonstration using a 3D scanner for wear and tear analysis.
The outcome of the wear and tear analysis determines:
- Exactly where your part is warped or damaged during its use. You can repair the part of where the wear and tear occurs so it can last longer.
- If the part is damaged past the point of repair, the test would indicate that you would need to replace the part.
Typically stationary scanners are best for inspection applications, but for use cases where the part cannot be moved, a handheld 3D scanner like the Artec Spider is a good option.
-
Shrinkage/Warpage
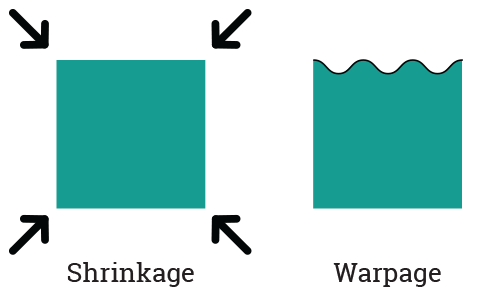
Shrinkage/Warpage is a huge concern for companies that manufacture through metal cast molding, plastic injection molding, and 3D printing.
A common application we see is a manufacturer creates a product using plastic injection molding. The raw material, the plastic, is first heated, put into the mold, and then cooled. When the final product is produced, there is a noticeable shrinkage in the manufactured product caused by temperature change. Once this change is identified, you can either adjust for the shrinkage beforehand during the design process, or alter the way that the part is physically being manufactured.
By finding where the shrinkage occurs, manufacturers are able to determine how to compensate for the shrinkage.
Corrections can be fixed by identifying:
- If the right amount of material is being used (whether it be too much or too little)
- If the injection points on the mold are causing an issue
- Or if there is a need for a design change
Another way to do this is if you have a watertight model of the manufactured part, you can inspect the overall volume of that part using 3D scanning software or 3D inspection software. This inspection can also tell you if your parts are either heating up and or cooling correctly after they are manufactured. At the same time, it also gives the manufacturer an idea of how much material is being used during the manufacturing process.
Here is an example that illustrates this application is found in the case study where specialty material is used in 3D printing. When compared to the CAD model after it’s been manufactured, deviations are spotted when compared to the CAD model. You can fix this issue by knowing why it occurs and compensating it to correct the issue.
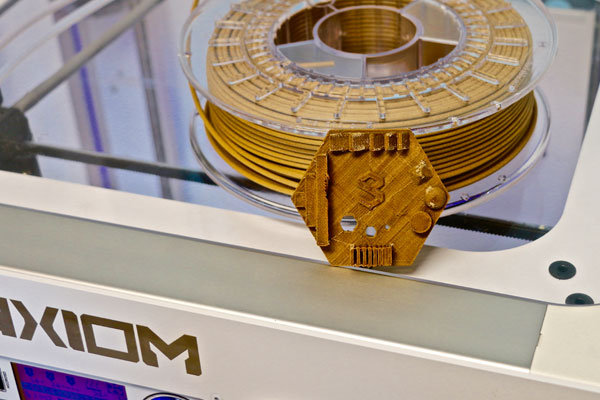
Evaluating the Accuracy of a 3D Printed Part Against the CAD Model
Read case study
Got A 3D Inspection Challenge You’re Looking to Solve?
Different companies have their own set of unique challenges when they are looking to inspect their parts for surface deviations. At GoMeasure3D, we love to hear how we can help you with your project that requires 3D inspection.
Talk to one of our 3D scanning specialists and they will be happy to have a personal consultation to help you.
Shop 3D Inspection Software →